We show you how to create animals with stable diffusion
Are you a fan of stable diffusion and love creating AI generative images? Well this guide might be of help to you. Let’s face it the majority of guides on stable diffusion are for creating realistic people or waifu content.
You could even say a lot of people using this amazing piece of Artificial Intelligent (AI) technology arae basically a load of perverts, hence why some people are trying to ban these tools from generating NSFW content.
Well this guide is different, it’s about using stable diffusion to generate animals. You won’t find too many of these guides around, so we do hope it’s of great use to you. Byu the end of this guide you should be able to generate your own animals. So let’s begin.
We hope you already have Stable Diffusion Installed on your computer if not you can install it on Windows or the Mac. Choose your version before we begin. Like always we are using Automatic 1111’s web UI version as it offers the most customizations and freedom to do what we want with our AI tool.
We will be showing you how to create the following images of animals:
- Realistic animals
- Cute animals
- Animal art
- Animals in Clothing
All setup? Let us Begin
Before we Begin
First things first. When you want to create great AI generated ART you need to know how to use the parameters stable diffusion has to offer. Once you have mastered them you can start to create some pretty nice pieces. But you might fell there is something missing, things just aren’t generating the way you expected them to.
That’s because parameters are only half of the battle. You will also need to familiarize yourself with custom models, LoRa’s and such. Once that’s all sorted you need to make sure you can create some kick ass prompts. This is where prompt engineers shine,
Too much work right? Might a swell give up. Well we say no! We are here to help you on your journey to becoming an AI generative artist. We have created a step by step guide on how you can create animals with stable diffusion. Please read carefully and install the necessary models to create the images you see. Prompts, steps and the seed will be provided for certain images, so take note of them.
Oh and don’t forget to change the dimensions of your images! It can actually make a difference between your generations. Landscape, portrait or just the default square are all possibilities for you to use.
How To Generate Realistic Animals With Stable Diffusion
So you want to take the fist step in creating animals with AI. Well you came to the right place. First off we are going to create the most asked for version of this guide. That is the realistic animal.
Creating a realistic animal with stable diffusion can be hard, especially if you don’t know where to begin. So let’s break down the creative process for you when creating these kind of images. Please note when we ever try to generate anything realistic we need to use the correct keywords. For example we would use the word “photo” to make stable diffusion understand that this isn’t 3D art of a sketch.
We Need to Pick Our Subject
This is the most important step. Here you are going to want to choose which animal you are wanting to generate, you can be descriptive if you wish here are some examples:
- Elephant
- Rhino
- Lion
- Wild Pack of Wolves
- A vibrant Fish
- Kitten
- Dog
These are just a few of the many subjects you can choose, it’s up to you. What animal would you like to generate with stable diffusion? choose the one you would like and then start creating your prompt.
“A Photo of a Lion”
Time to Set The Scene
It’s always best to set the scene when generating images. If you don’t stable diffusion will just throw up something random and it will just look silly or worse, awful. We don’t want that at all. We should always be specific with our prompts to help this AI tool understand what we want to achiever from our image generation.
So think hard, where would you like your animal to be here is a breakdown of some choices you might choose:
- Grassland
- Desert
- In a house
- River
- Forest
Have you come up with a suitable scene? Add this again to your prompt:
“A Photo of a Lion in a house”
Lighting is Key to a Realistic Image
This is where a lot of people fail to put the effort in. Lighting plays a huge role when you are creating your own images. If the lighting is off in any way it will make the image not look real. We are trying to imitate real life and real life has realistic lighting.
Here are some examples of the lighting you can use:
- Sunset
- Moonlight
- Sunrise
- Rim Lighting
- Dramatic Lighting
- Dark Studio
again add this to your prompt:
“A Photo of a Lion in a house rim lighting”
Others Keywords You Might Want To Use
You will want to use realistic keywords in order to get realistic results. Here is a few you might want to use for your prompt.
Use realistic keywords similar to those for generating realistic people. For example:
- Hyper Realistic
- DSLR
- Shot with (camera name)
- Ultra Quality
- Super-Resolution
- 8K
- UHD
- DTM
- HDR
- Film Grain
From experience it’s really a guessing game when using these keywords. What might work for one image of animal won’t work for the other. So it’s best that you play around with them until you get the ideal image you want.
Still struggling to create wildlife images? Why not try out these keywords:
- National Geographic Wildlife photo of the year
- The American Landscape Contest
- Wildlife photography contest
Just think of photography contests. If you use their keywords stable diffusion will use it as a reference.
Let’s again add this to our prompt:
“National Geographic Wildlife photo of the year of a Lion in a house rim lighting Super-Resolution, 8k, UHD, Film Grain”
Models
You will want to use a model that has a realistic style. For this we are using the Realistic Vision V2.0 Model. There are others available you can find a large list here.
Sometimes you might get lucky and someone has already trained a model to show the perfect sheep for example. If not you need to work with what you have.
Samplers
This is again something people tend to neglect. You will want to choose the right sampler for the images you are going to generate we feel the one most suited for realistic images is the DPM++ 2M Karras works best.
But, be sure to test out the others to find out which one you like the most. With all that added together we can create our first sample image.
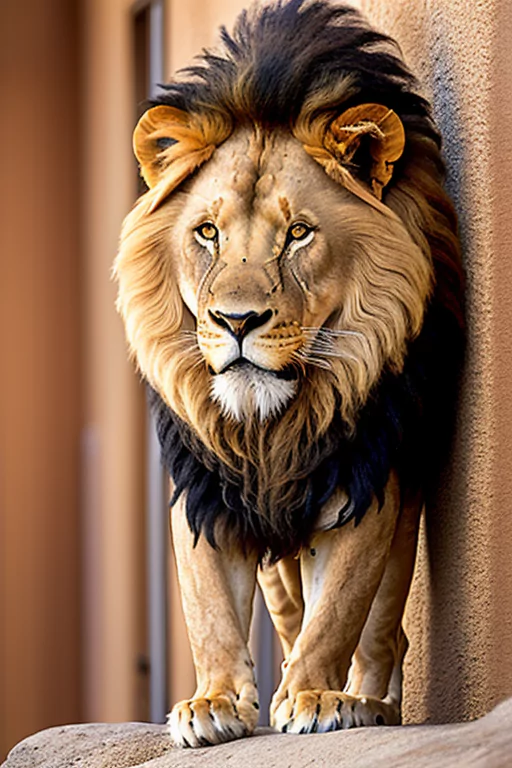
These are the settings for the above image:
- Seed – Random
- CFG Scale 15
- Steps – 100 (you can use 25 if you want)
- Height – 512
- Width – 768
- Sampler – DPM++ 2M Karras
- Model – Realistic v2.0
- Prompt: National Geographic Wildlife photo of the year of a Lion in a house rim lighting Super-Resolution, 8k, UHD, Film Grain
- Negative Prompt: deformed, disfigured, underexposed, overexposed
Now that we have the base to work with we can start creating other animals in other scenes.
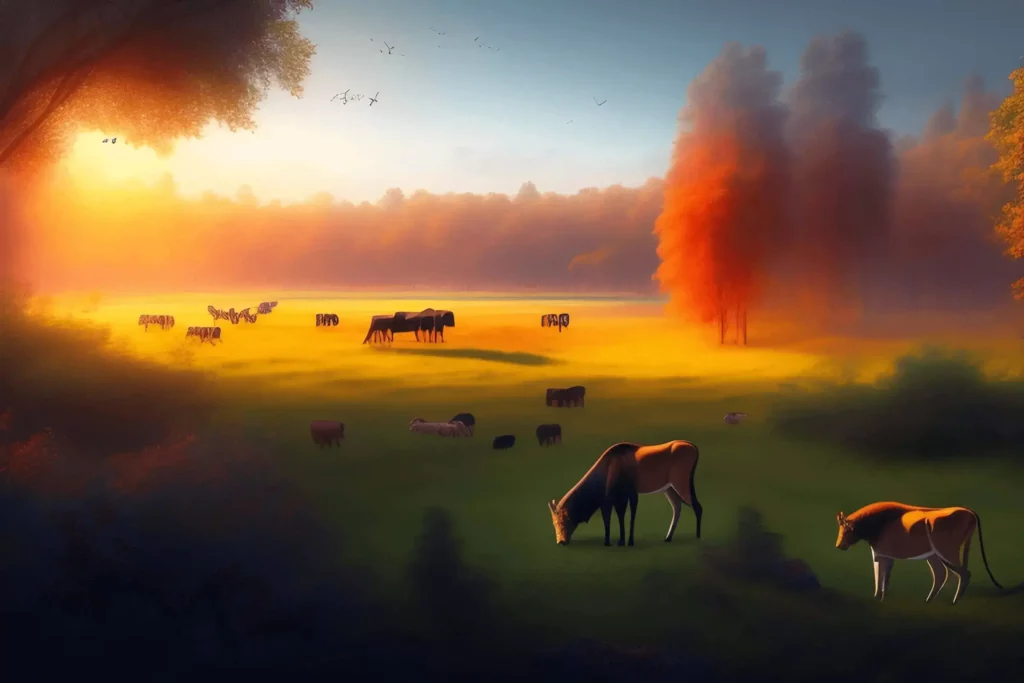
Examples of Realistic Animals
With the settings from our previous generation we are going to create new images of realistic animals in new scenes. We only need to change the prompt, you don’t need to edit anything else if you don’t want to. Check out some of our examples below.
A Gorilla In the Sunset
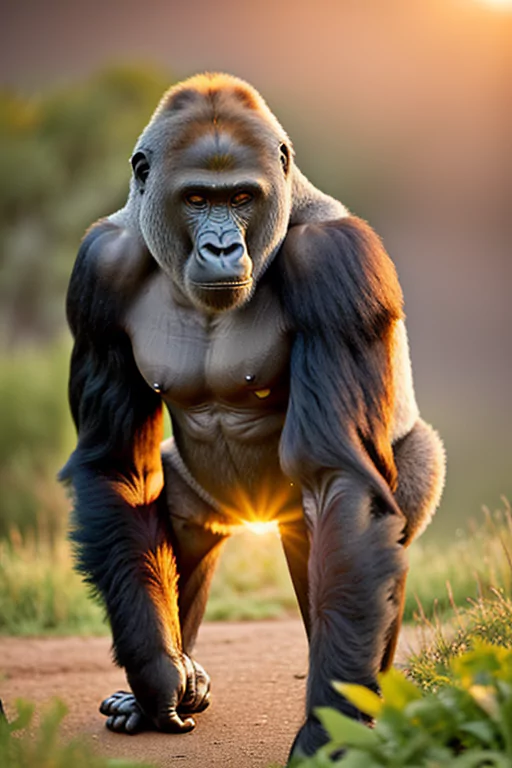
Ok maybe this one might have turned out a little bit rude you could say the sun shines out of his… yeah…
The Prompt for this image is: National Geographic Wildlife photo of the year, a Gorilla, evening light, sunset, rim lighting Super-Resolution, 8k, UHD, Film Grain
A Turtle Enjoying the Beach
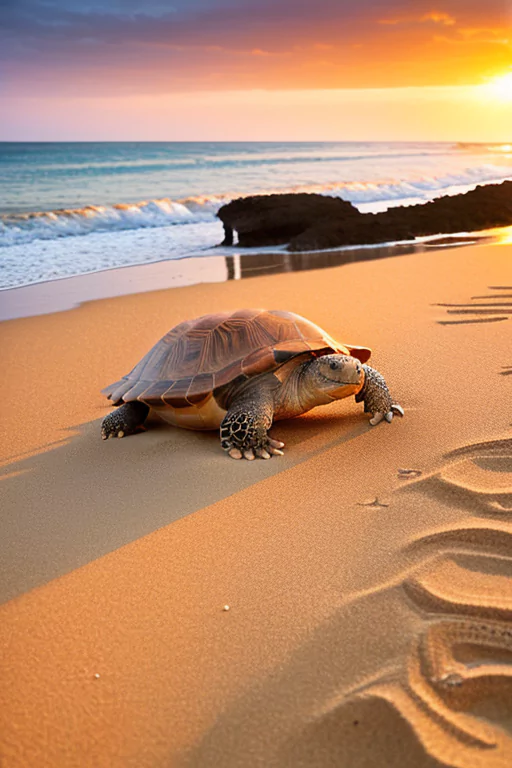
These are just a few examples of what you can do with a basic prompt. We believe they come out pretty well but could do with a little tweaking to make them better. Did you manage to create any nice pictures of animals? We would love to know, why not drop a comment at the bottom of this page.
Advanced prompt examples
Please note we won’t be sharing the prompt for these images as they are far too big to display on our website. Our Prompt engineering can be quite intensive when it comes to generating images with AI. Here are some examples of the images we created..
Image of a Lion v2
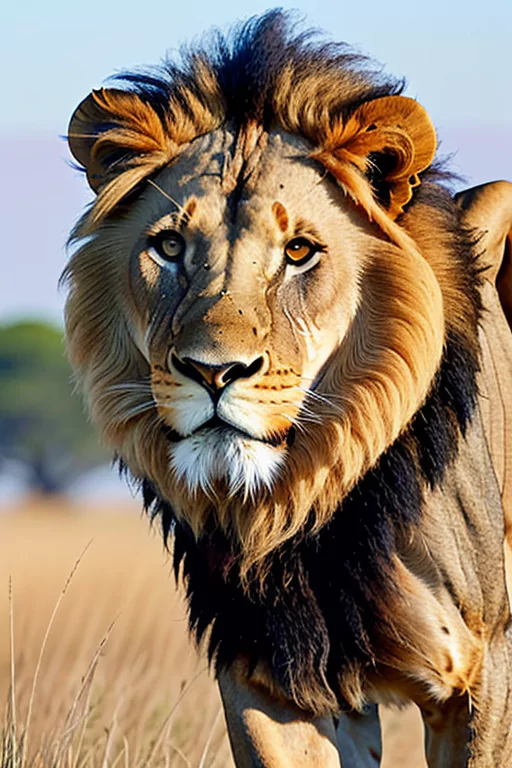
Image of a horse
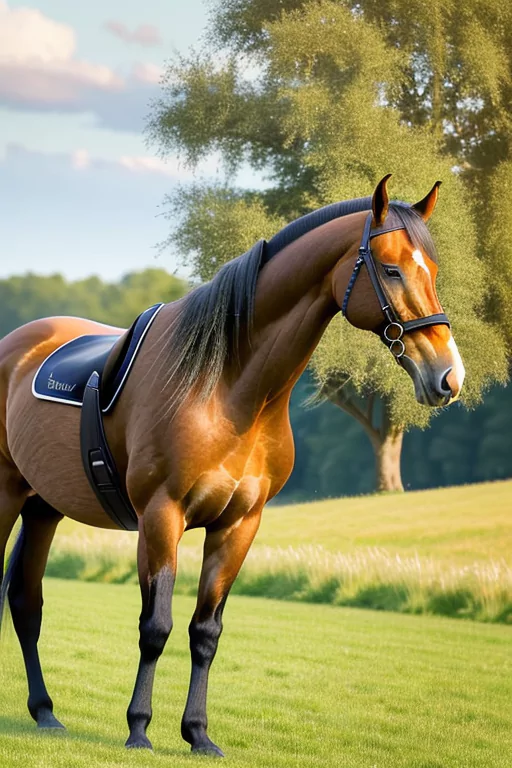
This why it is important to check out the various models available to stable diffusion. The horse image looks like it was trained on racing horses to be fair. 😅
When it comes to using stable diffusion you are only limited by your own imagination. So as long as that’s still working you should be good to create some stunning images!
How to Generate Cute Animals
Now that you can generate realistic animals it’s time to change the overall concept of the image. We are not going to create Cute animal images. There are many ways you can do this and it really depends on what style you consider cute!
We will be using multiple methods to generate cute animals with stable diffusion. But there are plenty of other ways to do this too, this are just simple guidelines to get your started.
We will be using the Dream Shaper model for this example and using a few “cute” keywords too. Since we don’t want our images to realistic anymore we will be getting rid of some keywords. We will also be changing the sampler method too!
Let’s start with a basic prompt. We will drop the steps to 25 and the guidance scale to 12 and use the Euler A sampler for quick image generation.
“a cute puppy”
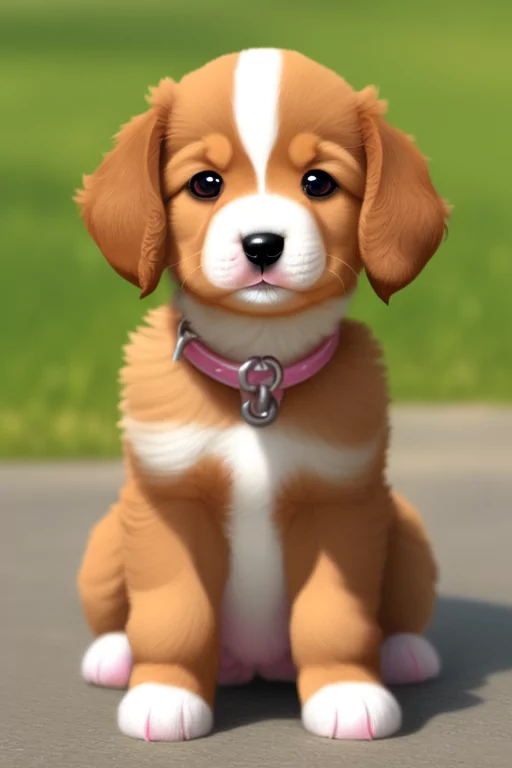
Here is our basic sample image. But how can we improve on this?
Let’s Work on the Prompt
In order go generate a cute animal image we will need to work on our prompt a little more. Also a good idea is to use a negative prompt too! Let’s spice things up a bit here is our new prompt and our negative prompt:
“a cute dog, (extremely detailed CG unity 8k wallpaper), professional impressionism oil painting”
“cartoon, 3d, disfigured, deformed easynegative”
You might notice something a little unusual in the negative prompt. It is known as “easynegative” in order to use this you need to download it and install it into your embeddings folder. e.g “stable-diffusion-webui\embeddings”.
This is what is known as a custom negative prompt setting. This one in particular works well with artistic images like paintings and drawings. It improves the overall appearance of them in most cases. Worth trying out to see if it improves your image. Let’s see how our image turns out with this new prompt.
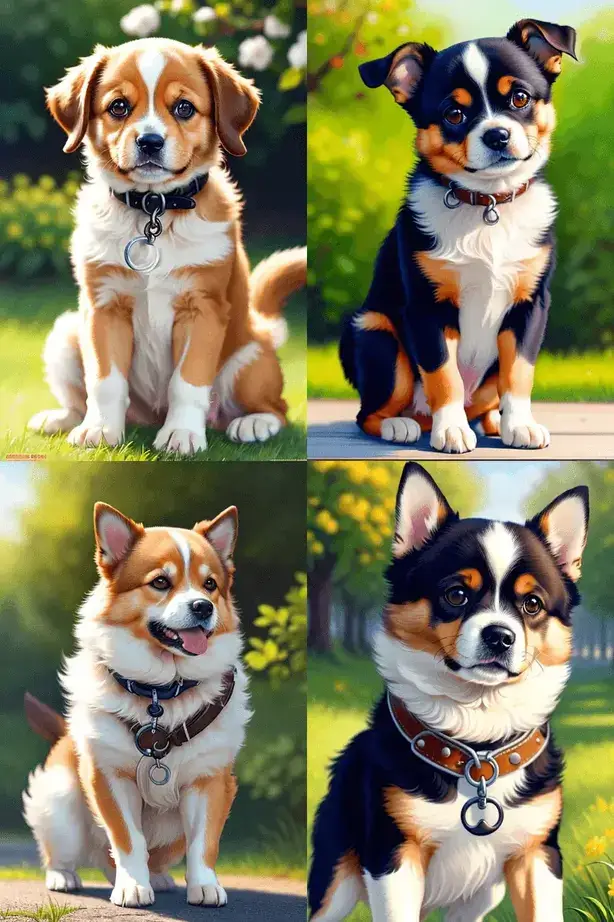
As you can see the image has changed quite a bit. If you want to you could setup the scene add more keywords the choice is up to you! Just think what’s “cute” and experiment a little.
The main focus you are wanting to go with is the model for example this Pixar model generated these image for us
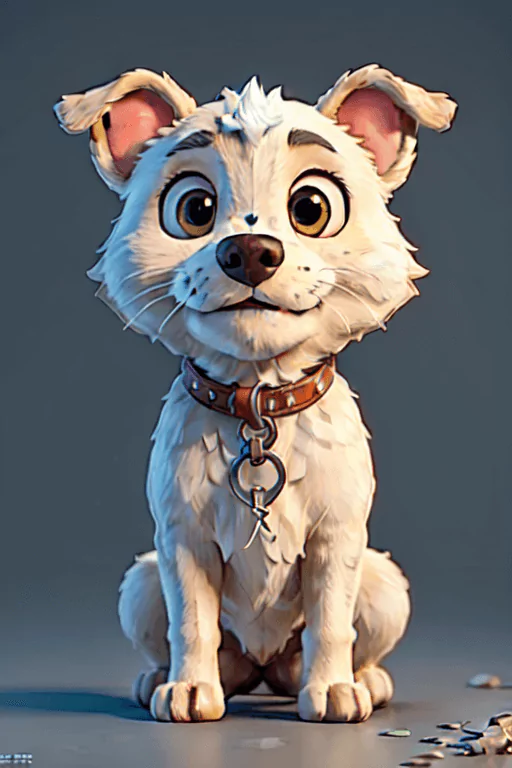
When it comes to generating cute images it really depends on your taste and style.
How to Generate Animal Art
Now if you want to create stunning Animal art with stable diffusion you are going to want to rely on a suitable model dependant on what art style you like. Also you are going to want to use art keywords. We will walk you through this process.
Please note for our art example we are going to be aiming for something in the style of Manga/Anime. Why? because it looks good! If you don’t want to create an image in this art style you can check our our Mega Prompt list of art styles. These styles will work in stable diffusion!
If you choose a different art style you may need to come up with specific keywords for that style. Research artists in that art style and use their names, see what results you get.
What Model to Pick?
Since we are going with a Manga style look we want to use a model that has been trained on this art style.
For this example we used this Anime Model there are plenty of others to choose from so fee l free to browse for the one you like the look of. It really is trail and error using this model files.
Please be aware that anime style models are normally trained on a lot of girl images, so sometimes you might get some rather strange images showing up. So please ensure you have the below negative prompt included in your generations to avoid this from happening.
“bad art, amateur, girl, people, easynegative”
What Keywords to Choose?
Keyword play a vital role when creating animal art. It can be quite daunting when you first start using stable diffusion, here is some examples of keywords you might want to use:
- Sketch
- Oil painting
- Vector Image
- In the style of “artists name”
- Chibi
- Pen
- Kuwaii
- Pencil Drawing
- Illustration
- Ghibli
There are so many possibilites when it comes to create animal art. All you need to do is think of artistic styles add them to your prompt, be as descriptive as possible to help stable diffusion create your image.
Example Animal Art Images
We are going to show you some examples of Animal Art created with stable diffusion please note for the following images these parameters were selected:
- Seed: Random
- Diemensions: 512 x 768
- Sampler Euler A
- Model: Anime Model mentioned above
- Steps: 25
- CFG Scale: 7
We will keep these the same throughout our prompts. You can spice up the prompt if you want. Also why not play around with the steps and CFG scale to generate something different.
Let’s start off with something basic
Here is our basic prompt for our first test image.
vector art of a mouse, white background
bad art, amateur, girl, people, easynegative
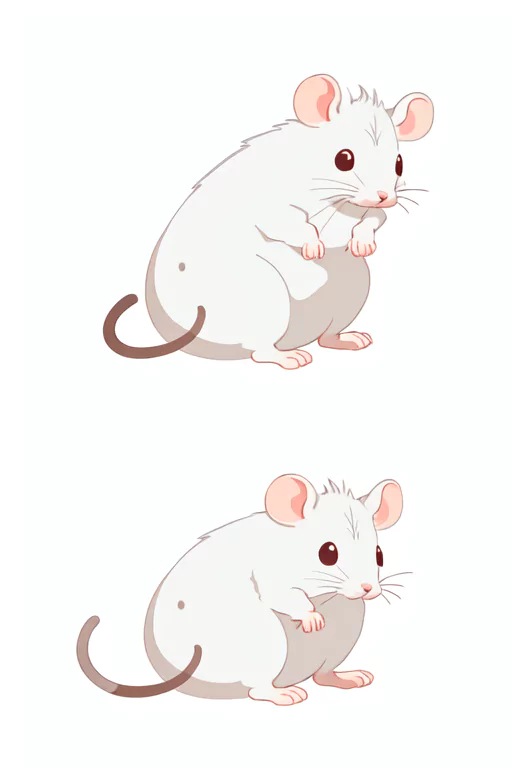
This has provided us with a very basic image of a mouse on a white background, for some reason it’s created two for us. This can be an issue with stable diffusion, especially when you provide a minimal prompt.
Let’s Play Around with the Prompt A little
Since the above image is rather basic let’s try to set the scene and add some features to it.
vector art of a mouse in the style of ghibli studio, mouse in a field eating corn, manga, anime, action shot
bad art, amateur, girl, people, easynegative
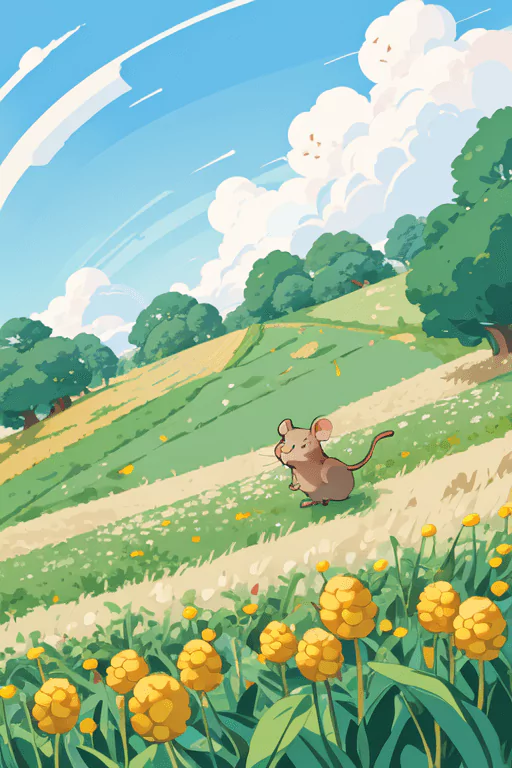
Please note we generated this prompt 4 times till we got the above image. We got some strange images: people and mice together, multiple mice in shot, strange looking creatures. I guess we should work harder on the negative prompt! 😅
So why are we showing you a not so perfect image? well it’s a problem with stable diffusion that we need to highlight. When an subject is further in the background of the image it will not look as good. This is when deformities happen. So in most cases you will want to tell stable diffusion that your subject needs to be close up.
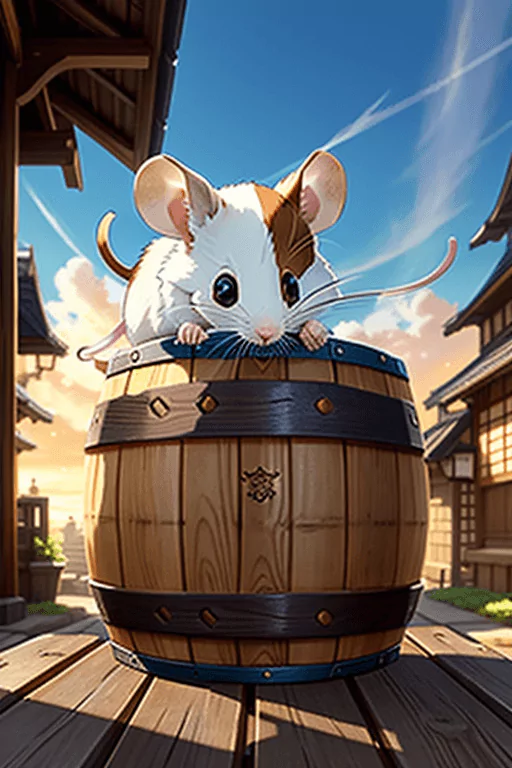
Now Let’s Make an Advanced Animal Art Prompt
We are not going to go crazy here, but let’s see if we can create something a little different. Well at least get the subject character right!
One problem we do tend to have with using models is that some of them are not trained on certain animals so you really need to be quite experimental with your prompts to generate something acceptable. Bare this in mind when choosing a model to work with.
We had to fiddle around quite a bit to get the image you see below. Seriously you don’t want to know how many images of waifu characters we got with mice ears, no matter what we wrote it was just a barrage of mice eared women. Now if that’s your kind of thing, ok no problem we are not judging you, but it’s not exactly what we are looking for.
Remember what we said in previous generations. Start off with a small number of steps say 25 then increase them for detail. The more steps the longer it takes to generate an image, but in some cases it can be a massive improvement. Bare this in mind when generating your images.
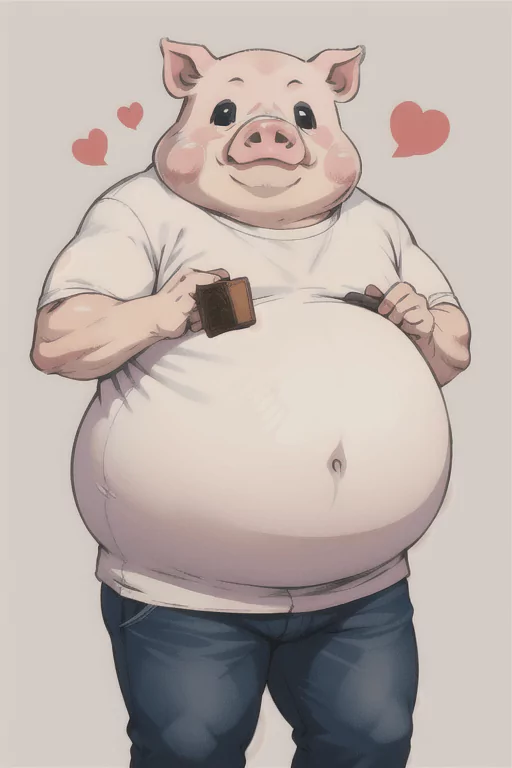
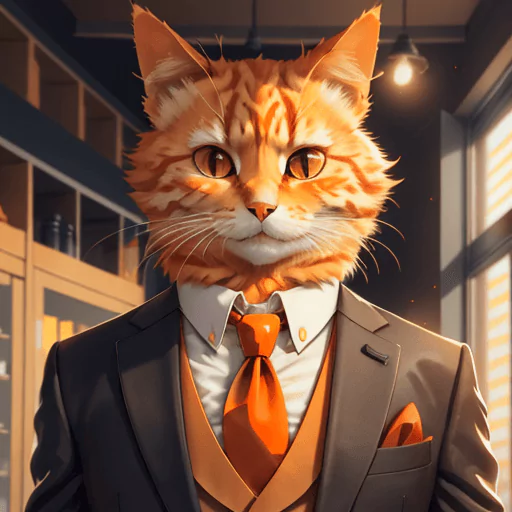
How to Generate Animals In Clothing
Just for a laugh we are going to show you how to create animals in clothing. Now in order to achieve this style we had to download certain models. You will need to download the following models:
The Dream Shaper Model + This Lora File
In order to use lora files you need to place them in the stable diffusion folder “stable-diffusion-webui\models\Lora“. If it’s loaded successfully you need to call it in your prompt by typing the following <lora:”name of the lora”:”strength of the lora”> or in our case <lora:c4ttitude:1>. You can change the strength if you want to different numbers too like 0.5.
You can use loras as models if you wish but it is best to use a base model a lora and even a VUE file together to ensure for high quality generated images. If you have a good GPU that has over 6 GB of VRAM you could even try the High res fix function, but we will leave that for another tutorial! If you can’t use High Res Fix just increase the number of steps for a clearer image (25 to say 50).
Here is an example of us using a custom model + lora to create an animal in clothing.
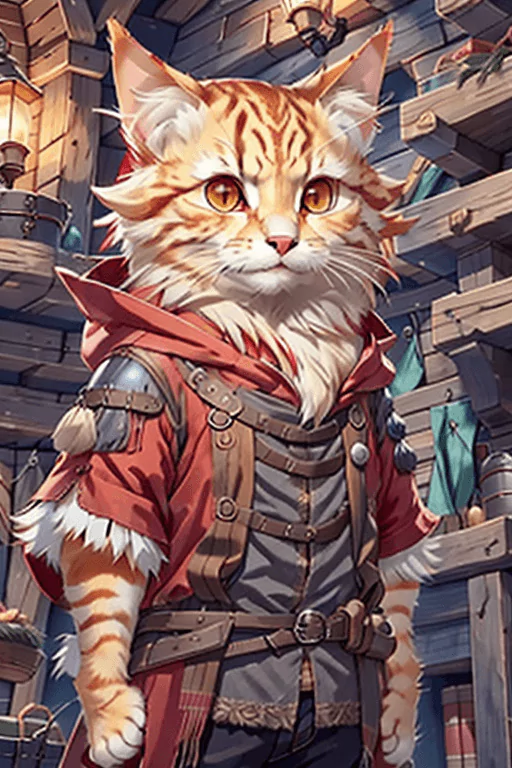
This is our prompt:
<lora:c4ttitudeflexver:1> c4ttitude red, wearing wizard outfit
easynegative
The use of this lora and model makes it easy to create cats in outfits. It also has a anime kind of style which is rather fitting. Just for fun let’s create another one for fun! 😀
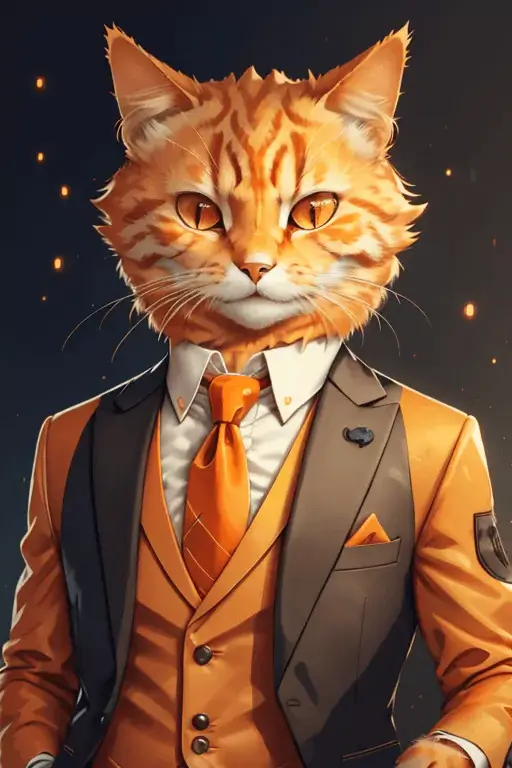
This is the beginning of another AI generating addiction. You can get carried away with this generation and spend hours trying to “Purrfect” the perfect image 😅We have brough up ways to create your own characters in stable diffusion before and this shows another way that you can achieve this.
Conclusion
So there we have it this has been your guide to geneating animals with stable diffusion. We do hope this has been of great help to you and you can now generate your favourite animals with ease.
One thing to take home is that it[s not just the prompt that’s important to generating amazing images, it is of course many other factors. So familiarize yourself with stable diffusion and get to learn what works and what doesn’t work when creating animals with this amazing piece of AI technology.
If you need anymore help creaat
Why not leave a comment below and let us know what animal images you have created with stable diffusion.