Use our Stable Diffusion Cheat Sheet To Create Stunning AI Generated Art
So you have played around with Stable Diffusion a little bit, got some ok results, but you want to improve? Well check out our Stable Diffusion Cheat Sheet. This User Guide has been created to help those looking to improve their AI Generated images through the Stable Diffusion tool.
Some people have a natural knack for creating awesome prompts but for others it can take a bit of time getting used to. This is where our Cheat Sheet should help aid you in creating that killer prompt for your next AI Generated Image. Just remember you want to describe the image in your head in all it’s entirety. Be as descriptive as possible.
For this guide we will be using the Automatic1111 WEB UI version of Stable Diffusion
Struggling to Install Stable Diffusion WEB UI? Check out our guide how to install stable diffusion
Rookie Mistake No 1. Not Using The Correct Syntax
Although Stable Diffusion has been out for quite some time, people still forget some of the correct syntax to use when creating their prompts.
- Location – Closer to the beginner of the prompt, the greater its effect on the overall image.
- ((Keyword)) – Increase Attention to a Word by adding () (()) to the keyword.
- [Keyword] – To Decrease attention to a word you can put it in [ ].
- Adding Numbers – You can be specific by doing the following
(keyword:1.5)or(keyword:0.5)
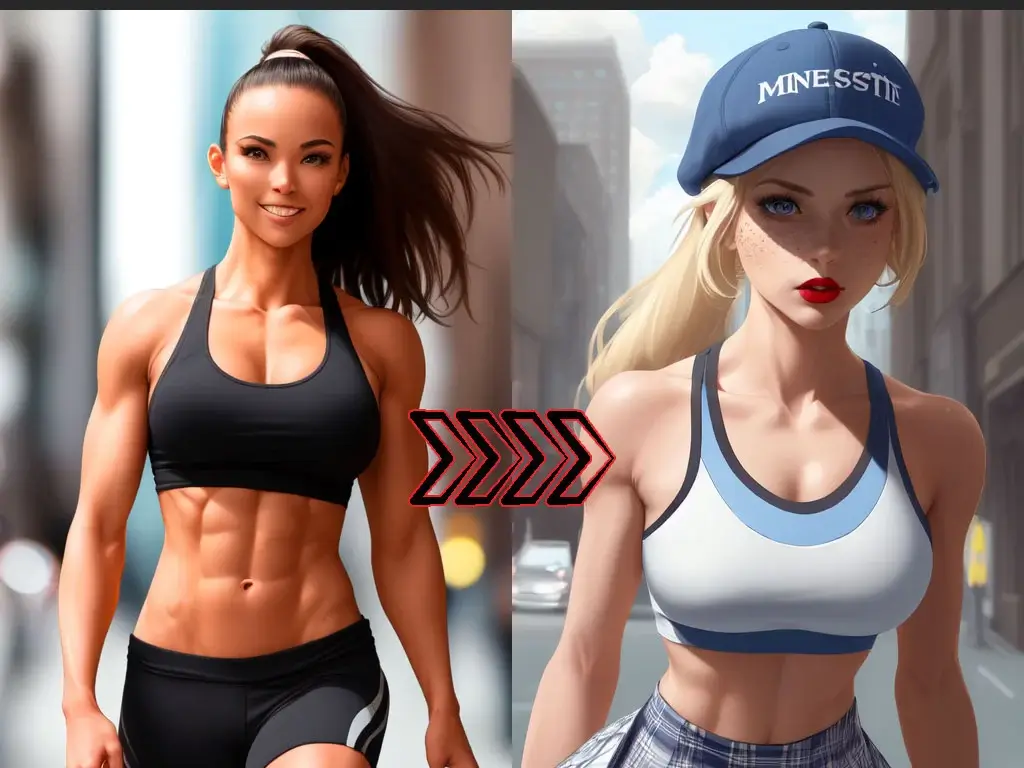
We take our Original Prompt: “full body portrait of fitness girl” which is rather basic and gives a limited result.
Here is an example of a prompt being correctly used: “(extremely detailed CG unity 8k wallpaper) full body portrait of fitness girl, (Extreme close up:1. 4), ((medium shot:1. 2)), beautiful fitness girl walking downtown, (runway walk)“.
This should give a much better result than the previous prompt. Being more descripted can really help create a much higher quality image.
Stand Out With 3D Renders & Realism
Sometimes you might want your image to stand out or look a certain way. Well there are a few keywords that can be used to achieve this, we won’t go into full detail as there are dozens of keywords that can be used. Let’s keep this guide short and sweet.
Create 3D Content
Try the following for that “3D” Look
Unreal Engine, Bokeh, Houdini Render, Arnold Render, CGI, CgSociety, Ultra Realistic, Cinema4D, Studio Quality, DSLR, plus many more. Just think of images that are 3D based and what keywords you would use to describe them.
Try The Following for a more Unique Style
Motion Blur, Fisheye, Ultra-wide Angle, Overlgaze, Polaroid, Depth of filed, Motion Lines, Analog Photo, just to name a few, be creative.
You can also try experimenting with names of professional cameras and lenses to see if this creates any features of your image that you like (e. g. Fujifilm or Canon Eos 5D) and lens specifications (e. g. 80mm or any ZEISS lens).
An Example could be “Unreal Engine, Ultra-wide Angle, using Canon Eos 5D” Play around with keywords until you find the your base style to work with. Once you have a base style you have something to work with that you can add to. I will be honest with you here, some prompts can take a while to perfect.
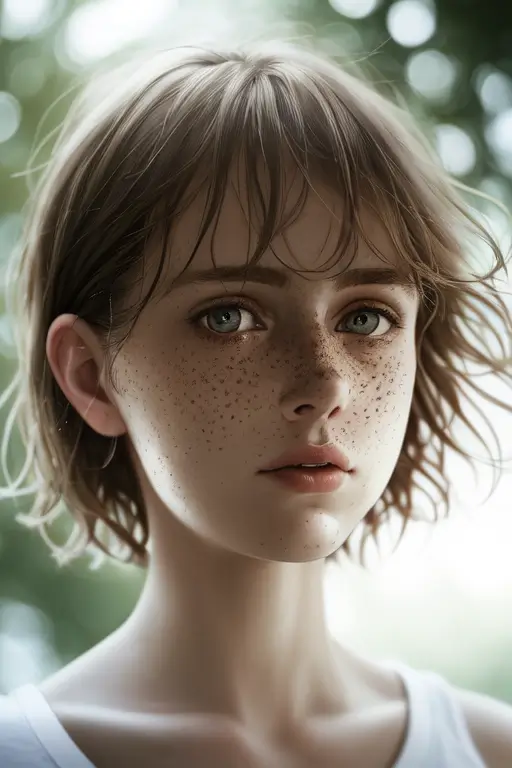
2D Art
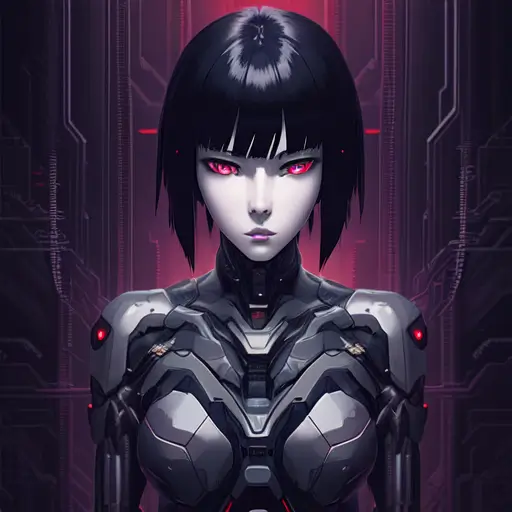
Stable Diffusion
When Creating 2D Art it can be quite a challenge. This is because Stable Diffusion requires you to mention the artists name. If you don’t you might get some pretty poor quality images. Examples of this are “John Constable, Ed Blinkey, Atey Ghailan, by Jeremy Mann, Greg Manchess, Antonio Moro”.
Like an artists style? try using their name in your prompts and see if the output is desirable. In most cases it’s best to link a few artists together than just using one. It really is trial and error.
Improve Quality
If you want to improve the quality of a 2D image you will want to try the following keywords: Digital Art, Digital Painting, fine art, Official Art, Elegant, Oil Painting, Divine, Surreal, Award Winning, Trending on Artstation, just to name a few of the keywords you might consider using on your next prompt.
Chose Your Style
Looking for a particular Style, then consider these keywords: color page, halftone, character design, concept art, symmetry, pixiv fanbox (for anime/manga), trending on dribbble (for vector graphics), precise lineart, tarot card. The limit here is your imagination.
Struggling to Find a Graphics Card or System that Works with Stable Diffusion?
We know it can be quite difficult finding a working graphics card that works with stable diffusion. Some should work out of the box while others shouldn’t but manage to perform that majority of tasks. (at a slow rate of course).
So the best rule of thumb when decided which graphics card or system to purchase is as follows:
- Choose an Nvidia graphics card they tend to support stable diffusion a lot more than other cards.
- Try to aim for 16gb of VRAM if you want to do large jobs and in painting. This guide was creating using only 4GB of VRAM but jobs take a few minutes to complete.
- Try to search reddit and other chat forums and ask if your graphics card could be compatible. There are a few work around. If not you will not to purchase a new card.
Here are a few compatible graphics cards that work with stable diffusion
GeForce GTX 1070 – low end graphics card. Only 8GB of VRAM so some process might take some time to finish off.
GeForce RTX 2080 – better graphics card. Only 8GB of VRAM.
Nvidia RTX 4080 16GB version if you have the funds to push for more VRAM do it!
Nvidia RTX 4090 24 GB – you won’t have any issues with this card. But it sure is expensive.
There are gaming laptops available like the Asus ROG that does run stable diffusion just ensure that you opt for one fitted with a good graphics card like the ones listed above and with at least 16gb of RAM. These ASUS laptops are easily customizable when it comes to parts.
Environments
The great thing about stable diffusion is how creative you can make your prompts. Hence why we really needed to create this quick cheat sheet. Of course this is not a fully comprehensive list of all the keyword options, but it is enough to get you started!
Here are some ideas on how to change the Environments of an image: “stunning environment, wide-angle, aerial view, landscape painting, aerial photography, massive scale, street level view, landscape, panoramic, lush vegetation, idyllic, overhead shot.” You can also say locations like: city, countryside etc. Set the scene for your image.
Detail
Want to add that unique effect to your image? Well try out details! You can change your image to HQ, wallpaper effect, hyperrealism, insanely details to name a few. How about an angelic theme with embellishments? Or perhaps you just want it to be a “masterpiece”. Play around and see what ideas you can come up with.
Lighting
Lighting makes an image. It really can make the difference between a master piece and a novice item. So this is something that you might spend a large portion of your time trying to get right. Please note lighting is extensive and can get quite overwhelming.
We suggest you try to stick with something you like and don’t keep changing the lighting for every image you want to create. Remember to save your prompts and store them somewhere safe just in case you need to come back to them.
Here is a breakdown of some of the keywords used when editing the lighting of your images: bloom, god rays, halo, iridescent, backlighting, caustics, hard shadows, volumetric lighting, specular lighting, cinematic lighting, luminescence, translucency, subsurface scattering, studio lighting, soft lighting, diffused lighting, rim lighting, global illumination, indirect light, radiant light rays, bioluminescent details, ektachrome, glowing, shimmering light.
Colors
If you thought everything was done, well think again! You can also edit the over all color of your image. Check out some of the keywords you can use: vibrant, muted colors, vivid color, post-processing, colorgrading, tone mapping, lush, low contrast, vintage, aesthetic, psychedelic, monochrome.
Yes we know, it sure is a lot to take in. We may in the future add a complete table of keywords to use but for now it’s best to keep it in a way that’s easy to digest.
Negative prompts – A Must for Creating AI ART
A lot of users forget this. A Negative prompt is quite important because it removes anything you do not want to show up on your image. It can be a real god send at times. The default prompt we use is as follows:
“lowres, text, error, cropped, worst quality, low quality, jpeg artifacts, ugly, duplicate, morbid, mutilated, out of frame, extra fingers, mutated hands, poorly drawn hands, poorly drawn face, mutation, deformed, blurry, dehydrated, bad anatomy, bad proportions, extra limbs, cloned face, disfigured, gross proportions, malformed limbs, missing arms, missing legs, extra arms, extra legs, fused fingers, too many fingers, long neck”
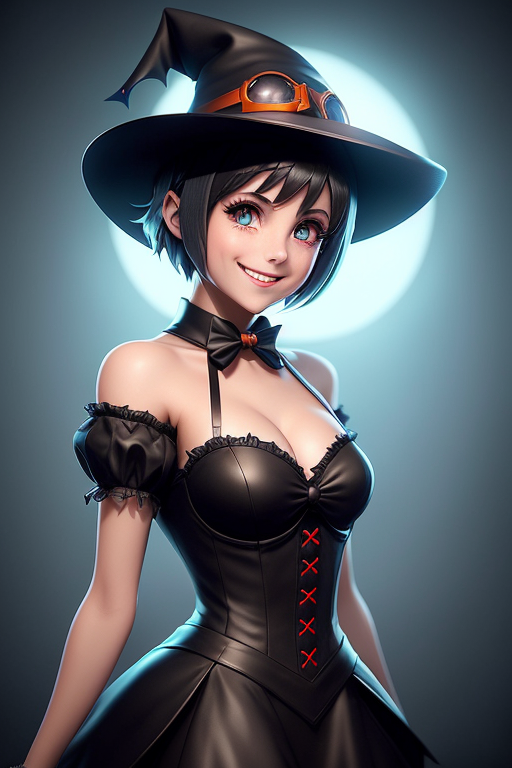
The above prompt is designed to help give the user a good quality image. It will need to be edited for certain images and certain designs, but it tends to catch majority of issues. For example if you want a character to wear a cap you might want to define it’s colour in your prompt. It is also best to create a negative prompt i.e (((black cap))) if you don’t want a black cap. SD can be quite fragile at times, so it’s best to cover all bases in the quest to obtain that perfect AI generated image.
Use Custom Models!
You would be quite surprised how many people just use the standard model for stable diffusion. Allthough it is great and does indeed create high quality images, occasionally it is better to use a custom model. There are 100’s of these available online and some of them fit certain art styles. So makes sure you maximise use of these when creating your AI Generated Images. You can find a large database of AI model files here.
Short and Sweet Cheat Sheet for Stable Diffusion
That’s it! We tried to not drag this Cheat Sheet out too long, because let’s face it stable diffusion has so many features that we would be here all day. We do hope with this basic user guide you will be able to create some stunning AI art. If you would like a more advanced guide on Character Creation why not check out our guide on that too.
If you have any questions or issues, then please do leave a comment below. We will try to help you create the AI art you dream of creating, or at least point you in the right direction.